


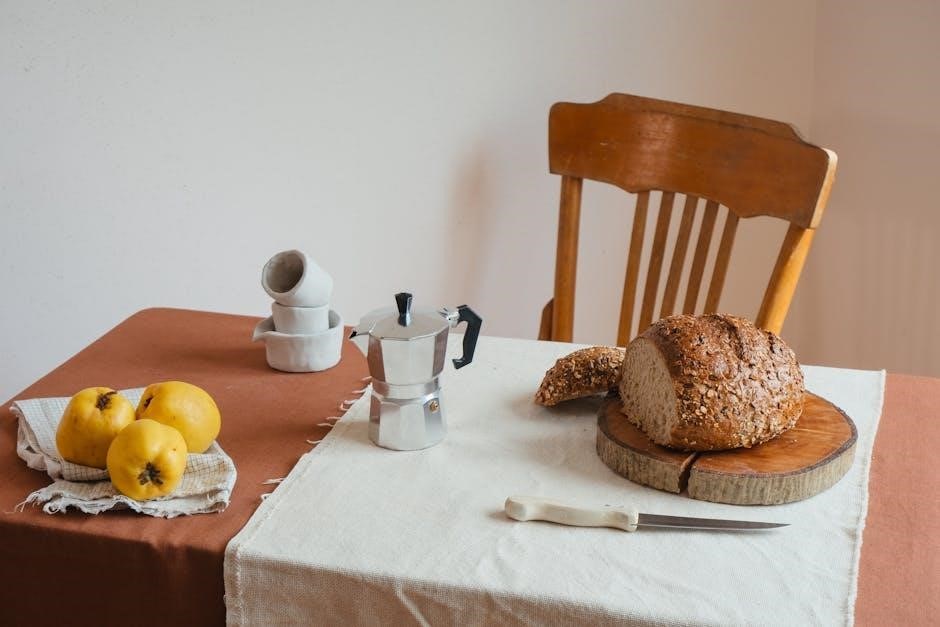
manual bread maker
Understanding Bread Makers: A Comprehensive Guide
Embarking on a bread-making journey with a machine requires understanding its operation; reading the manual is the crucial first step for success.
What is a Bread Maker and How Does it Work?
A bread maker, fundamentally, is an automated appliance designed to simplify the bread-baking process. Unlike traditional methods requiring manual kneading and proofing, a bread maker consolidates these steps into a single, convenient machine. The process begins with adding ingredients – flour, water, yeast, and other desired additions – into the bread pan.
The machine then takes over, utilizing a built-in kneading paddle to mix and develop the dough. Following kneading, a heating element warms the dough to facilitate proofing, allowing the yeast to activate and the dough to rise. Crucially, the machine’s internal timer and temperature controls manage these phases precisely. Finally, the bread maker bakes the loaf to golden perfection, often with customizable crust settings. Understanding your specific model’s manual is paramount for optimal results, as features and cycles can vary.

Benefits of Using a Bread Maker
Employing a bread maker delivers a multitude of advantages, primarily convenience and consistency. It eliminates the labor-intensive aspects of traditional baking, freeing up valuable time. The automated process ensures repeatable results, minimizing the risk of under- or over-proofing, or inconsistent kneading.
Furthermore, bread makers empower you to control ingredients, avoiding preservatives and additives often found in store-bought bread. This is particularly beneficial for those with dietary restrictions or preferences. Many models offer specialty programs, enabling the creation of gluten-free loaves, dough for pizzas or pastries, and even jams. Referencing your machine’s manual unlocks its full potential, allowing you to explore diverse recipes and customize settings for perfectly baked bread, tailored to your taste.
Types of Bread Makers Available
Bread makers come in varied designs, but understanding vertical versus horizontal configurations is key; consulting the manual helps determine which best suits your kitchen needs.
Vertical vs. Horizontal Bread Makers

The primary distinction between bread makers lies in their design: vertical or horizontal. Vertical bread makers, the more traditional style, feature a tall, narrow baking pan. This design often results in a loaf with a more rectangular shape. Horizontal bread makers, conversely, boast a wider, lower profile, producing loaves that are typically wider and rounder.
The choice often comes down to personal preference and kitchen space. Vertical models are generally more compact, fitting neatly on countertops. Horizontal models may offer more even heating due to the pan’s shape, potentially leading to a more consistent crumb. However, always refer to your machine’s manual for specific recommendations regarding loaf shape and baking performance, as individual models can vary significantly. Understanding these differences ensures you select a bread maker that aligns with your baking goals and spatial constraints.
Capacity: Choosing the Right Size
Bread maker capacity, measured in loaf size (typically 1-pound, 1.5-pound, or 2-pound), dictates the amount of bread you can bake in a single cycle. Selecting the appropriate size hinges on your household’s bread consumption. A 1-pound loaf suits smaller households or individuals, while a 2-pound loaf is ideal for larger families or frequent bread eaters.
Consider future needs; it’s often wiser to slightly overestimate than underestimate. Remember, you can always bake smaller loaves in a larger machine by adjusting ingredient quantities – consult your manual for guidance. Capacity also influences the machine’s overall footprint. Larger capacity bread makers are physically bigger. Carefully assess your counter space before committing to a particular size. Prioritize a capacity that balances your baking frequency with available kitchen real estate.
Features to Consider When Buying
When selecting a bread maker, beyond capacity, several features enhance usability and versatility. A delay timer allows you to schedule baking, enjoying fresh bread upon waking or returning home. The keep warm function maintains bread temperature for hours post-baking; Crust control settings cater to individual preferences – light, medium, or dark crusts.
Specialty programs expand baking possibilities. Gluten-free programs cater to dietary needs, while dough programs are perfect for pizza or rolls. Some machines even include a jam program! Consider models with programmable settings for customized recipes. Look for a removable kneading paddle for easy cleaning. A clear digital display and intuitive controls simplify operation. Prioritize features aligning with your baking habits and desired bread varieties.
Delay Timer & Keep Warm Function
The delay timer is a remarkably convenient feature, enabling you to schedule bread baking up to 13 hours in advance. Imagine waking to the aroma of freshly baked bread – a delightful start to the day! Simply add ingredients, set the timer, and the machine handles the rest. This is especially useful for busy schedules, ensuring bread is ready when you are.

Complementing the delay timer, the keep warm function maintains bread at an optimal temperature for several hours after baking concludes. This prevents staleness, allowing for leisurely enjoyment throughout the day. It’s perfect if your household doesn’t consume an entire loaf immediately. These features combine to offer unparalleled convenience and freshness.
Crust Control Settings
Most bread makers offer adjustable crust control settings, allowing you to customize the bread’s exterior to your preference. Typically, these range from light to dark, influencing both color and texture. A lighter crust yields a softer loaf, ideal for sandwiches, while a darker crust provides a satisfying crunch, perfect for toast or enjoying with soups.
Experimenting with these settings is key to achieving your desired result. Factors like flour type and humidity can impact crust development, so adjustments may be necessary. The manual will detail the specific settings available on your model. Understanding crust control empowers you to tailor each loaf to your exact liking, enhancing your bread-making experience significantly.
Specialty Programs (Gluten-Free, Dough, Jam)
Modern bread makers often boast specialty programs extending beyond basic bread baking. A gluten-free program utilizes adjusted timings and temperatures to compensate for the lack of gluten, ensuring a successful rise and texture. The dough program kneads ingredients without baking, perfect for crafting artisan loaves or pizza bases in the oven.

Surprisingly, some machines even include a jam program, allowing you to create homemade preserves with fresh fruit and minimal effort! Consult your machine’s manual to fully understand each program’s function and optimal ingredient ratios. These versatile features transform your bread maker into a multi-functional kitchen appliance, expanding your culinary possibilities.
Getting Started: Your First Loaf
Successfully baking your initial loaf hinges on carefully following the bread maker’s instructions detailed within its accompanying manual for optimal results.
Reading the Manual: A Crucial First Step
Before your inaugural bake, dedicating time to thoroughly read your bread maker’s manual is absolutely paramount. Each machine, despite performing a similar core function, possesses unique operational nuances and specific instructions. The manual unveils these details, preventing potential errors and ensuring optimal performance. It details ingredient order, cycle selections, and crucial safety precautions.
Understanding the control panel, various program settings, and the machine’s specific requirements for flour and liquid ratios is vital. Ignoring the manual can lead to inconsistent results – dense bread, improper rising, or even damage to the appliance. Familiarize yourself with troubleshooting tips provided, addressing common issues before they escalate. A well-understood manual transforms a potentially frustrating experience into a rewarding baking adventure, unlocking the full potential of your new kitchen companion.
Essential Ingredients for Bread Making
Successful bread making hinges on understanding the role of core ingredients. Flour provides structure, with bread flour offering higher protein for gluten development, resulting in a chewier texture. All-purpose flour is versatile, while whole wheat adds nuttiness and fiber. Yeast is the leavening agent, available in active dry (requiring proofing), instant (added directly), and fresh forms.
Liquid, typically water or milk, hydrates the flour and activates the yeast. Salt controls yeast activity and enhances flavor. Sugar provides food for the yeast and contributes to browning. Fat, like oil or butter, adds tenderness and richness. Ingredient quality significantly impacts the final product; fresh yeast and properly stored flour are crucial. Precise measurements, as outlined in your recipe and bread maker manual, are essential for consistent results.
Flour Types: Bread Flour, All-Purpose, Whole Wheat
Selecting the right flour is paramount for achieving desired bread texture. Bread flour boasts a high protein content (12-14%), crucial for developing strong gluten, resulting in a chewy, elastic loaf – ideal for many bread maker recipes. All-purpose flour, with moderate protein (10-12%), offers versatility, suitable for softer breads and when a less chewy texture is preferred.
Whole wheat flour incorporates the bran and germ, providing a nuttier flavor and increased fiber. However, it can yield a denser loaf due to the bran interfering with gluten development. Many bread maker recipes combine whole wheat with bread flour for balance. Always refer to your bread maker’s manual for flour recommendations, as different machines perform optimally with specific types. Experimentation is key to finding your preferred flour blend!
Yeast: Active Dry, Instant, Fresh
Yeast is the engine driving bread’s rise, and choosing the correct type is vital. Active dry yeast requires proofing – dissolving in warm water with a bit of sugar – to ensure viability before adding to ingredients. Instant yeast (also called rapid-rise) can be added directly to dry ingredients, streamlining the process and often preferred in bread makers.
Fresh yeast, while offering superior flavor, is less common and has a shorter shelf life. Your bread maker’s manual will specify the appropriate yeast type and quantity. Incorrect yeast usage can lead to bread that doesn’t rise or has a strange flavor. Always check the expiration date and store yeast properly to maintain its potency. Understanding these nuances ensures baking success!

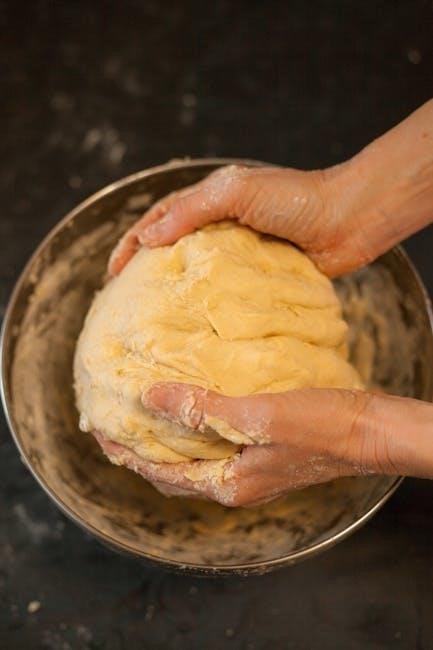
Bread Maker Recipes & Techniques
Mastering basic recipes and techniques unlocks a world of bread-making possibilities, allowing for customization and experimentation within your machine’s capabilities.
Basic White Bread Recipe
This classic recipe is perfect for beginners and showcases the bread maker’s simplicity. Begin with 1 ¼ cups of warm water (105-115°F), 1 tablespoon of sugar, and 2 ¼ teaspoons of active dry yeast. Let it stand for 5-10 minutes until foamy, indicating the yeast is active. In the bread maker pan, add 3 ½ cups of bread flour and 1 ½ teaspoons of salt. Create a well in the center and pour in the yeast mixture.
Select the “Basic” or “White Bread” setting on your machine, choosing a 1.5- or 2-pound loaf size. Ensure the crust setting is to your preference – light, medium, or dark. Press start and let the bread maker handle the kneading, rising, and baking. Typically, this cycle takes around 3-4 hours. Once complete, carefully remove the loaf and let it cool completely on a wire rack before slicing and enjoying your freshly baked bread!
Whole Wheat Bread Variations
Elevate your bread-making with whole wheat! Replace up to half of the bread flour in the basic white bread recipe with whole wheat flour for a nuttier flavor and increased fiber. For a 100% whole wheat loaf, use 3 ½ cups of whole wheat flour, but you may need to add an extra 1-2 tablespoons of water due to its absorption.
Experiment with additions like 2 tablespoons of honey or molasses for sweetness and improved texture. Seeds, such as flax or sunflower, (about ¼ cup) add a delightful crunch and nutritional boost. Consider adding ½ cup of rolled oats for a heartier loaf. Remember to adjust the liquid slightly if needed. Utilize the “Whole Wheat” setting on your bread maker, and enjoy the wholesome goodness of homemade whole wheat bread!
Troubleshooting Common Bread Maker Issues
Encountering problems? Dense or heavy bread often results from too much liquid, insufficient yeast, or using old yeast. Ensure accurate measurements and check the yeast’s expiration date. If your bread isn’t rising properly, verify the yeast is active by proofing it in warm water with a pinch of sugar – it should foam.
Also, room temperature significantly impacts yeast activity; a warm environment is ideal. A collapsed loaf can indicate too much yeast or excessive kneading. Always consult your bread maker’s manual for specific troubleshooting tips related to your model. Don’t hesitate to experiment with slight adjustments to ingredients and settings to achieve perfect results!
Dense or Heavy Bread
A common frustration is producing bread that’s disappointingly dense or heavy. Several factors contribute to this issue, often stemming from ingredient imbalances. Too much liquid is a primary culprit; carefully measure all liquids according to your recipe and the bread maker’s recommendations. Insufficient yeast, or using yeast past its prime, also hinders proper rise and results in a compact loaf.

Additionally, using the wrong type of flour – substituting bread flour with all-purpose, for example – can affect texture. Always refer to your bread maker’s manual for guidance on flour types. Finally, ensure ingredients are added in the correct order, as specified in the manual, for optimal mixing and development.
Bread Not Rising Properly
If your bread isn’t rising as expected, several issues could be at play. First, verify your yeast is active; test it by dissolving a teaspoon in warm water with a pinch of sugar – it should foam within 10 minutes. Expired or improperly stored yeast is a frequent cause. Secondly, ensure the kitchen isn’t too cold, as low temperatures inhibit yeast activity. A slightly warm environment is ideal.
Also, check the amount of salt used; too much salt can hinder yeast growth. Finally, consult your bread maker’s manual regarding the correct order of ingredient addition, as improper layering can affect the rising process. A faulty heating element within the machine itself is a less common, but possible, cause.