
nikon d610 manual english
The Nikon D610 is a versatile and powerful full-frame DSLR designed for photographers seeking high image quality and creative control. Its 24.3MP FX-format sensor delivers exceptional detail and dynamic range, making it ideal for both professional and enthusiast use. Paired with an intuitive interface and robust feature set, the D610 empowers users to capture stunning photos with ease. This guide provides a comprehensive overview to help you unlock its full potential and master its functionality.
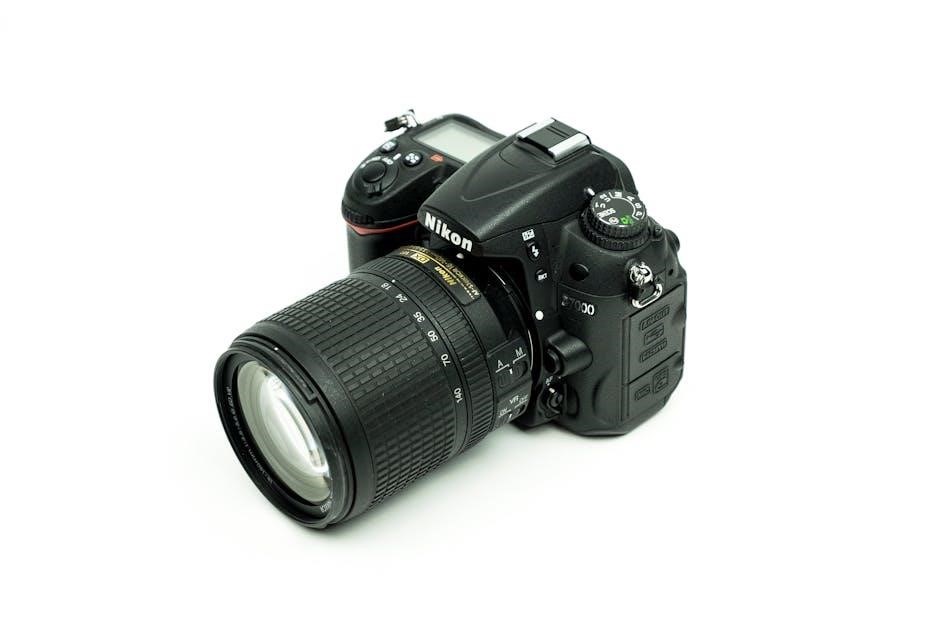
Overview of the Nikon D610
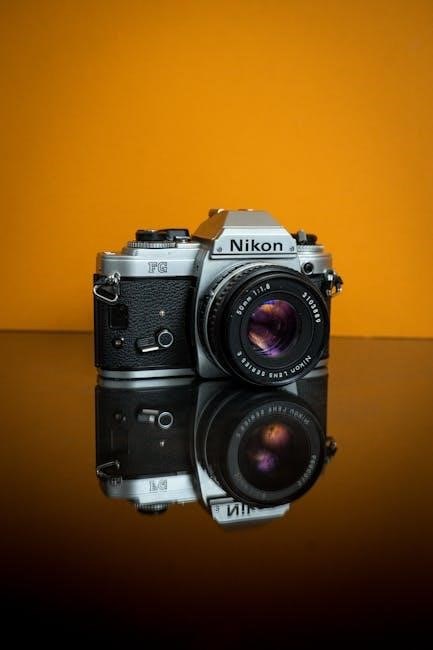
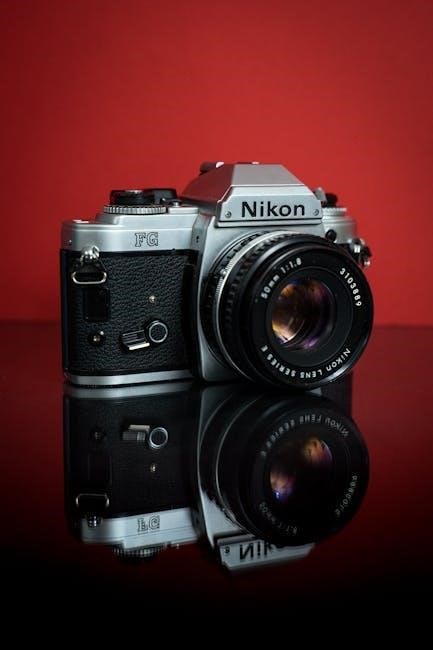
The Nikon D610 is a full-frame DSLR camera designed for photographers seeking professional-grade image quality and versatility. Released in 2013, it features a 24.3MP FX-format CMOS sensor, EXPEED 3 image processing, and a wide ISO range of 100-6400 (expandable to 50-25600). The camera supports continuous shooting at 6 fps and offers dual SD card slots for storage flexibility. Built with a durable magnesium alloy and weather-sealed body, the D610 is designed to withstand harsh conditions. Its 3.2-inch LCD screen and optical viewfinder provide precise composition and playback. With advanced metering and autofocus systems, the D610 delivers reliable performance for various photography genres, from landscapes to portraits.
Importance of the Nikon D610 Manual
The Nikon D610 manual is an essential resource for photographers aiming to maximize their camera’s capabilities. It provides detailed explanations of features, settings, and shooting modes, empowering users to achieve professional results. Whether you’re a novice or an advanced shooter, the manual serves as a comprehensive guide to understanding the camera’s intricate functions. It helps troubleshoot common issues, optimize settings, and unlock creative potential. By mastering the manual, photographers can enhance their skills, streamline workflows, and produce high-quality images consistently. This guide is a valuable tool for anyone seeking to fully utilize the Nikon D610’s advanced features and improve their photography expertise.

Key Features of the Nikon D610
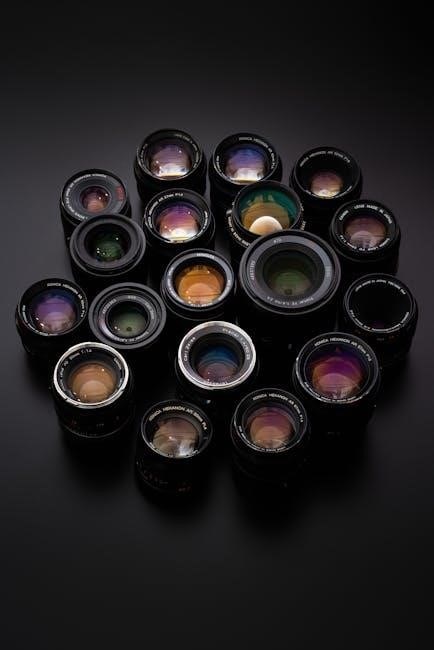
The Nikon D610 features a 24.3MP full-frame sensor, 39-point autofocus system, and full HD video recording, making it a powerful tool for photographers and videographers alike.
Full-Frame Sensor and Image Quality
The Nikon D610 features a 24.3MP FX-format CMOS sensor, delivering exceptional image quality with rich detail and vibrant colors. Its full-frame design captures a wide dynamic range, ensuring nuanced tonal gradations in both bright and dark areas. The sensor’s large pixel size enhances low-light performance, reducing noise and providing sharp results even at higher ISO settings. With a 14-bit A/D conversion, the D610 preserves subtle color transitions, making it ideal for professional photography. The built-in optical low-pass filter minimizes moiré and aliasing, while the EXPEED 3 image-processing engine optimizes image data for superior clarity and color accuracy, making the D610 a powerful tool for capturing stunning, high-resolution images.
Autofocus System and Performance
The Nikon D610 features a 39-point autofocus system, designed for precise and fast subject acquisition. With 39 focus points, including nine cross-type sensors, the D610 excels in various lighting conditions, ensuring sharp images consistently. The AF system supports multiple modes, such as Single Shot AF, Continuous AF, and Manual Focus, providing flexibility for different shooting scenarios. Additionally, the camera offers AF mode customization, allowing photographers to tailor focus settings to their preferences. This adaptability makes the D610 suitable for both still photography and dynamic situations, delivering reliable autofocus performance across a wide range of applications for photographers seeking precision.

Video Recording Capabilities
The Nikon D610 supports high-quality video recording, capturing 1080p Full HD at frame rates of 24, 25, and 30 fps. It utilizes the H.264/MPEG-4 AVC format, ensuring efficient file sizes without compromising quality. The camera also features uncompressed HDMI output for external recording devices, allowing for higher bitrate video capture. Manual controls enable adjustment of exposure settings and audio levels during filming, providing creative flexibility. A built-in stereo microphone enhances audio quality, while an external microphone jack offers further customization. These capabilities make the D610 a versatile tool for both still photography and cinematic storytelling, catering to professionals and enthusiasts alike.

Understanding the Camera Controls
The Nikon D610 features an intuitive control layout, with top buttons and dials for mode selection, ISO, and exposure compensation. The rear panel includes a multi-selector for menu navigation and playback controls, while the front and side offer access to focusing modes and bracketing options; Mastering these controls enhances shooting efficiency and customization.
Top Control Buttons and Dials
The Nikon D610 features an intuitive top control layout designed for quick access to essential settings. The mode button allows you to switch between shooting modes, while the release mode dial lets you select from single, continuous, or quiet shooting options. The ISO button provides direct control over sensitivity settings, and the exposure compensation button enables adjustments to brightness. Additionally, the metering mode button offers options for precise light measurement. These controls are strategically placed to enhance workflow efficiency, ensuring seamless operation during photography sessions. Mastering these buttons and dials is key to maximizing the camera’s potential and achieving optimal results.
Rear Control Layout and Functions
The rear control layout of the Nikon D610 is designed for intuitive operation, with buttons and dials strategically placed for easy access. The multi-selector allows quick navigation through menus and images, while the playback button lets you review shots. The menu button provides access to camera settings, and the OK button confirms selections. The zoom buttons enable previewing images at higher magnification. The info button displays shooting information on the LCD. Live View and movie recording buttons are positioned for seamless switching between stills and video modes. Customizable buttons like the AF mode selector and White Balance button enhance personal workflow efficiency. Mastering these controls ensures smooth and efficient shooting experiences.
Front and Side Controls
The front of the Nikon D610 features essential controls for quick access during shooting. The lens release button and focus mode selector are conveniently located near the lens mount. On the right side, the front control dial adjusts aperture or shutter speed, while thedepth-of-field preview button helps assess focus. The side panels house ports for HDMI, USB, and remote shutter release, enabling seamless connectivity. The top front includes a flash sync terminal and a programmable Fn button, allowing customization to suit your workflow. These controls are designed for intuitive operation, ensuring you can adjust settings without distractions, enhancing your photography experience.

Shooting Modes Explained
The Nikon D610 offers multiple shooting modes, including Manual (M), Aperture Priority (A/Av), Shutter Priority (S/Tv), and Program (P), each providing unique control over exposure settings for precise results.
Manual Mode (M)
Manual Mode (M) on the Nikon D610 offers full creative control, allowing photographers to independently adjust both aperture and shutter speed. This mode is ideal for situations requiring precise adjustments, such as low-light environments or artistic effects. The main command dial controls shutter speed, while the sub-command dial adjusts aperture. The exposure compensation button enables fine-tuning, ensuring optimal results. Manual Mode is particularly useful for mastering exposure and understanding lighting dynamics. For advanced customization, users can refer to the Nikon D610 manual or guides like “Mastering the Nikon D610” for expert tips on maximizing this mode’s potential.
Aperture Priority Mode (A/Av)
In Aperture Priority Mode (A/Av), you set the aperture, and the camera automatically adjusts the shutter speed to maintain proper exposure. This mode is ideal for controlling depth of field, allowing you to isolate subjects or ensure more of the image is in focus. A lower f-stop value (e.g., f/2.8) creates a shallower depth of field, blurring the background, while a higher f-stop (e.g., f/11) sharpens more of the image. Use the control dial to adjust the aperture, and the camera will adapt the shutter speed accordingly. This mode is perfect for creative control over your photos while letting the camera handle exposure calculations.
Shutter Priority Mode (S/Tv)
In Shutter Priority Mode (S/Tv), you control the shutter speed while the camera automatically adjusts the aperture for optimal exposure. This mode is ideal for capturing motion, such as freezing fast-moving subjects or creating artistic blur. To use it, set the mode dial to ‘S’ or ‘Tv.’ Adjust the shutter speed using the main command dial, and the camera will set the aperture based on the metering mode selected. Experiment with different speeds to master motion capture and creative effects, ensuring proper exposure by monitoring the LCD and adjusting settings as needed.
Program Mode (P)
Program Mode (P) on the Nikon D610 offers a balance between simplicity and control. The camera automatically adjusts aperture and shutter speed to deliver a balanced exposure, ideal for everyday shooting. However, users can still adjust settings like ISO sensitivity, white balance, and autofocus to refine their results. This mode is perfect for photographers who want to rely on the camera’s intelligence while maintaining creative input. It’s also a great starting point for beginners to learn how different settings interact. By using Program Mode, you can capture high-quality images with minimal effort, making it a versatile option for various shooting scenarios.
Autofocus and Metering
The Nikon D610 features a 39-point autofocus system, offering precise subject tracking and enhanced accuracy. Advanced metering modes, including Matrix, Center-weighted, and Spot, ensure optimal exposure control for diverse lighting conditions.
Autofocus Modes and Customization
The Nikon D610 offers advanced autofocus capabilities, featuring 39 focus points, including 9 cross-type sensors for enhanced accuracy. Users can choose between Single AF, Continuous AF, and Dynamic AF modes, each tailored for specific shooting scenarios. Customization options allow photographers to fine-tune AF behavior, such as adjusting AF-C priority selection and enabling focus point wrapping. Additionally, the camera supports AF Fine Tune, enabling precise calibration with individual lenses to ensure sharp focus. These features provide users with greater control over autofocus performance, optimizing results in various conditions and ensuring precise subject tracking.
Metering Modes and Exposure Control
The Nikon D610 offers advanced metering modes to ensure accurate exposure in various lighting conditions. The camera features three main metering modes: Matrix Metering, which analyzes the entire scene for balanced exposure; Center-Weighted Metering, which prioritizes the center of the frame; and Spot Metering, which measures light from a small area for precise control. Additionally, the D610 provides exposure compensation and bracketing options, allowing users to fine-tune brightness and capture a range of exposures for HDR imagery. The AE-L/AF-L button enables quick locking of exposure settings, enhancing creative control. These tools help photographers achieve optimal results, even in challenging lighting scenarios.
White Balance and ISO Settings
The Nikon D610 offers precise white balance control, including Auto, Daylight, Fluorescent, and custom options for accurate color representation. ISO sensitivity ranges from 100 to 6400, extendable to 25600, ensuring optimal performance in various lighting conditions while minimizing noise.
White Balance Presets and Custom Options
The Nikon D610 offers a range of white balance presets to ensure accurate color reproduction in various lighting conditions. Presets include Auto, Daylight, Incandescent, Fluorescent, Flash, Cloudy, and Shade. Additionally, the camera provides custom white balance options, allowing users to set a specific Kelvin temperature (2500K–10,000K) or measure ambient light using the PRE (Preset Manual) option. This is done by shooting a white object under the current lighting conditions, ensuring precise color accuracy. These settings are accessible via the Shooting Menu, enabling photographers to fine-tune their shots for professional-grade results. The live view preview also helps verify adjustments before capturing images.
ISO Sensitivity and Noise Reduction
The Nikon D610 offers a wide ISO sensitivity range of 100 to 6400, extendable to 25600 in Hi mode, allowing photographers to shoot in diverse lighting conditions. Lower ISO settings (100-800) deliver clean images with minimal noise, ideal for bright environments, while higher ISOs (1600-6400) enable low-light photography with manageable grain. The camera features advanced noise reduction systems, including High ISO Noise Reduction and Long Exposure Noise Reduction, which minimize grain without sacrificing detail. These settings can be adjusted or disabled for greater creative control, ensuring optimal image quality across various shooting scenarios.
Playback and Custom Settings
The Nikon D610 allows users to review images on its LCD screen, with features like zoom and slideshow options. Custom settings enable personalized control over camera functions and shooting preferences, enhancing workflow efficiency.
Reviewing Images on the LCD
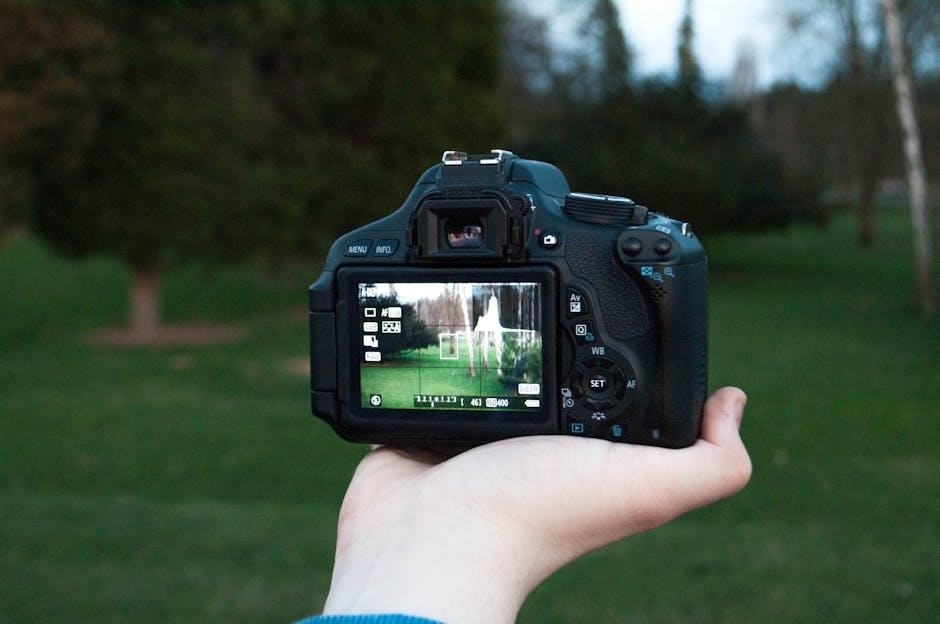
The Nikon D610 features a 3.2-inch LCD screen with 921,000 dots, providing a clear and detailed view of your captured images. To review photos, press the playback button located on the rear panel. You can scroll through images using the multi-selector or delete unwanted shots using the delete button. Zoom in on images for a closer look at details by pressing the zoom in button, and zoom out to preview multiple images at once. The LCD also displays histograms, shooting information, and other customizable display options, allowing you to assess image quality and exposure. This feature is essential for refining your technique and ensuring your photos meet your creative vision.
Customizing Camera Settings for Personal Use
The Nikon D610 allows photographers to tailor camera settings to their unique preferences, enhancing workflow and creativity. Users can create custom shooting banks (U1, U2) to store preferred configurations for quick access. The Custom Settings menu offers extensive control over autofocus, metering, and exposure parameters. Assigning frequently used functions to the camera’s function buttons streamlines operation. Additionally, the camera supports custom white balance presets and Picture Controls for personalized image styling. By adjusting these settings, photographers can optimize the D610 to suit their shooting style, ensuring consistent results and improved efficiency. This level of customization makes the D610 adaptable to various photographic disciplines and user needs.
Mastering the Nikon D610 requires a deep understanding of its manual. This guide has covered key features, controls, and settings to enhance your photography skills. Practice regularly, experiment with different modes, and apply these techniques to optimize performance. By following the insights provided, you can unlock the full potential of your D610 and capture truly stunning images.
Mastering the Nikon D610 Manual
Mastering the Nikon D610 manual is essential for unlocking the camera’s full potential. This comprehensive guide provides detailed insights into the camera’s features, helping users understand and optimize its performance. Whether you’re a professional or a beginner, the manual offers clear instructions on how to navigate the camera’s controls, customize settings, and achieve exceptional results. It covers key topics like autofocus modes, metering systems, and ISO sensitivity, ensuring you can adapt to various shooting conditions. By studying the manual, you’ll gain confidence in using advanced techniques and troubleshooting common issues, ultimately enhancing your photography skills and creativity behind the lens.
Final Tips for Optimizing Camera Performance
To maximize the performance of your Nikon D610, ensure regular maintenance and thoughtful customization. Clean the sensor and lenses regularly to avoid dust and smudges. Always use high-quality memory cards for reliable performance. Experiment with custom settings to tailor the camera to your shooting style. Familiarize yourself with the menu system to streamline workflows. Keep the firmware updated for the latest features and improvements. Organize your images efficiently during playback to save time. Lastly, practice regularly to refine your skills and fully utilize the camera’s capabilities. By following these tips, you can enhance your photography experience and achieve outstanding results with your Nikon D610.